Weatherproofing pipe insulation is an essential task for homeowners, particularly those living in regions with harsh winter conditions. The process involves protecting your pipes from the elements, particularly from freezing temperatures that can lead to burst pipes and costly water damage. In this article, we'll explore the importance of weatherproofing pipe insulation, the different types of insulation available, and a step-by-step guide on how to weatherproof your pipe insulation.
The Importance of Weatherproofing Pipe Insulation
The Risks of Not Weatherproofing
When water freezes inside a pipe, it expands, which can cause the pipe to burst. This can lead to rapid flooding on your property, causing significant damage and potentially costly repairs. Furthermore, uninsulated hot water pipes lose heat, leading to increased energy costs.
Benefits of Weatherproofing
Weatherproofing your pipe insulation reduces the risk of these disasters and can save you money on energy costs. Insulated hot water pipes lose less heat, meaning your hot water system doesn't have to work as hard. Additionally, insulating cold water pipes can prevent condensation, reducing humidity levels in your home.
Understanding Different Types of Pipe Insulation
Foam Pipe Sleeves
Foam pipe sleeves are a popular choice for insulating longer, straight pipes. They are available in various diameters to fit different pipe sizes and are typically easy to install.
Pipe-wrap Insulation
Pipe-wrap insulation is ideal for insulating small lengths of pipe or sections with many bends. It involves wrapping a special insulating tape around the pipe in spiralling loops, ensuring the entire pipe is covered.
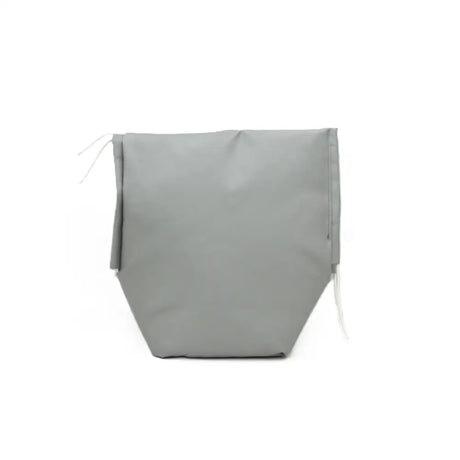
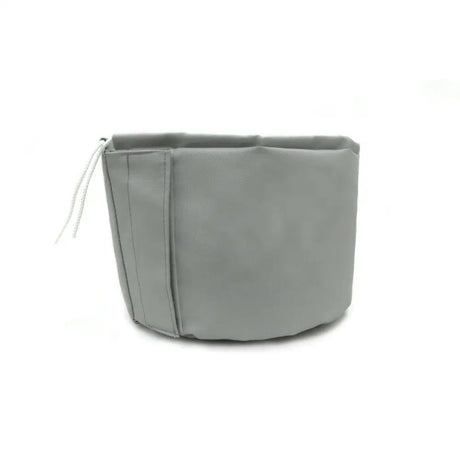
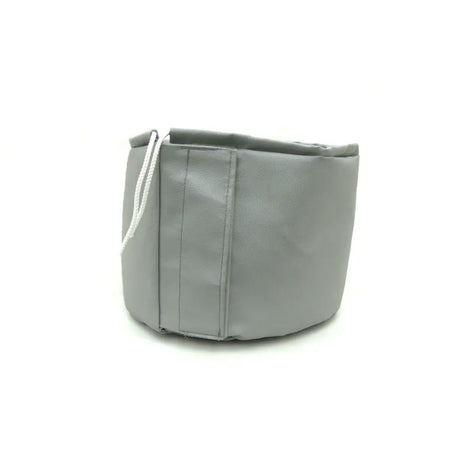
Outdoor Faucet Covers
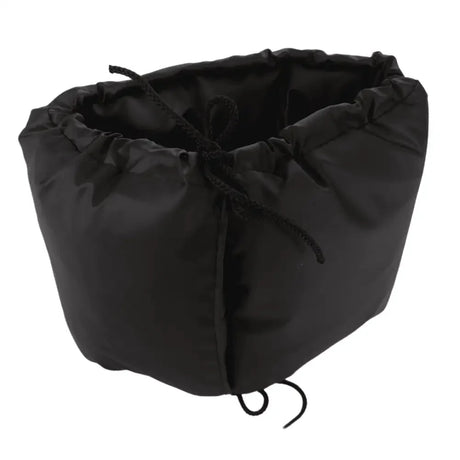
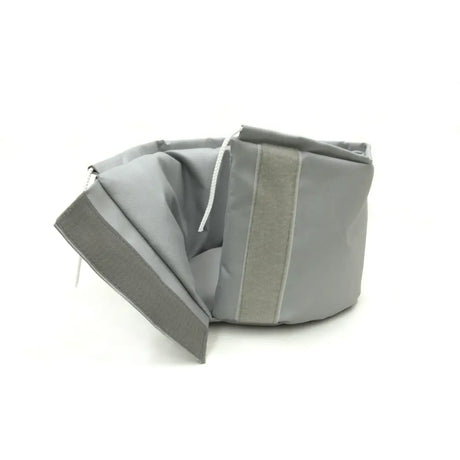
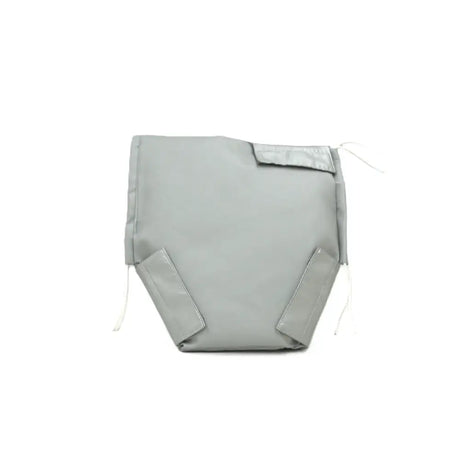
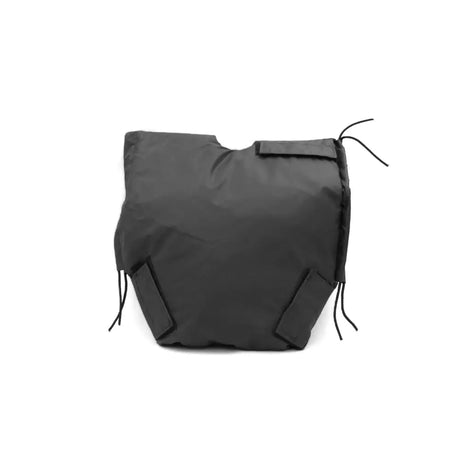
Outdoor faucet covers made of hard foam can protect faucets from freezing temperatures and falling ice chunks. They are easy to install and provide an extra layer of protection for your outdoor faucets.
Step-by-Step Guide to Weatherproofing Pipe Insulation
Preparing Your Pipes
Before you begin insulating your pipes, it's important to prepare them properly. This includes cleaning the pipes to remove any dirt or grease, which could affect the insulation's effectiveness.
Applying Foam Pipe Sleeves
To install a foam pipe sleeve, position it along the pipe, open the slit and cover the pipe, then seal the seam with the provided adhesive or duct tape. Cut the sleeve to fit the length of the pipe.
Installing Pipe-wrap Insulation
To install pipe-wrap insulation, attach the loose end of the insulating wrap to one end of the pipe. Wrap it around the pipe in spiraling loops, making sure to cover the entire pipe. Cut off the excess once sufficient insulating wrap is in place.
Securing Outdoor Faucet Covers
To install an outdoor faucet cover, first detach the hose from the faucet. Place the rubber loop around the spigot, position the cover over the spigot, and tighten the slide lock to hold the cover in place. Make sure there are no air gaps.
Additional Tips for Winter Pipe Protection
During winter months, keep an eye on your pipes and if possible, stop the water flow to outdoor faucets and drain the pipes before the first hard freeze. If you can't turn off the outdoor water supply, run your spigots occasionally through the winter to check water pressure.
Conclusion
Weatherproofing your pipe insulation is a crucial task that can save you from costly repairs and energy costs. By understanding the different types of insulation and following our step-by-step guide, you can effectively protect your pipes from the harsh winter elements.


