Welcome to our comprehensive DIY guide on pipe insulation. If you're a DIY enthusiast or a homeowner looking to save energy, you've landed at the right place. Let's get started, shall we?
Introduction: The Importance of Pipe Insulation
Have you ever wondered why pipes need insulation? Pipe insulation is more than just an extra layer; it's about saving energy and increasing the efficiency of your plumbing system. Furthermore, in colder climates, it's a crucial step in preventing your pipes from freezing and causing potential damage. If you're curious, you can delve deeper into this topic in our comprehensive guide to insulated pipes.
The Science of Pipe Insulation
In simple terms, insulation is all about thermal resistance, and pipe insulation works by slowing down heat transfer. By slowing the escape of heat, it keeps your hot water pipes hot and cold water pipes cold. But how does this process really work? Let's break it down!
Choosing the Right Type of Insulation
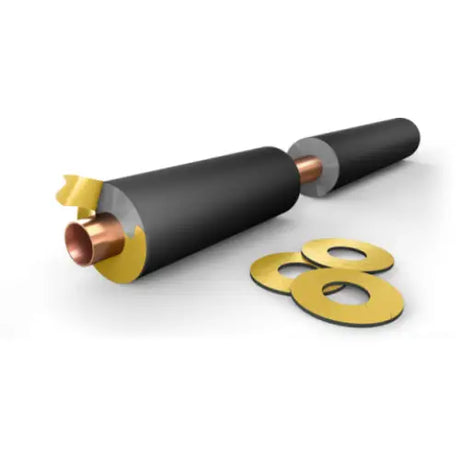
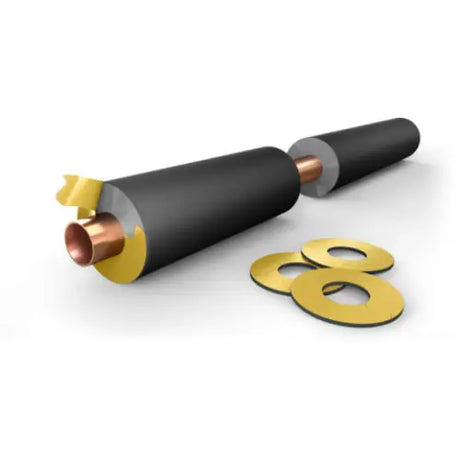
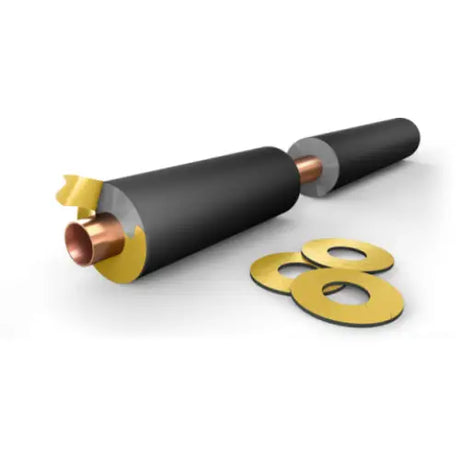
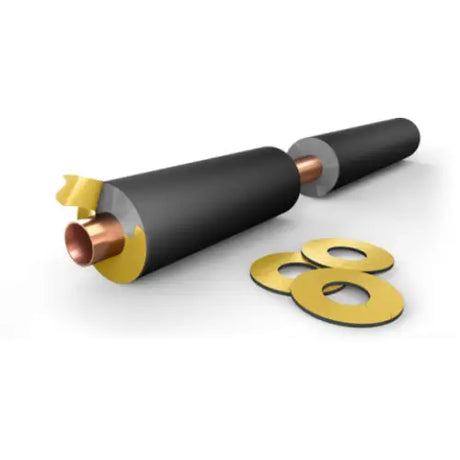
When it comes to choosing the right type of pipe insulation, several factors come into play, including the type of pipe, location, and the environmental conditions. In general, foam pipe insulation is most commonly used due to its versatility and ease of installation. You might also consider rubber or fibreglass insulation.
Materials You Will Need
You will need:
- Insulation tubes or wraps
- Utility knife
- Duct tape
- Measuring tape
Make sure all the materials are ready before starting the installation process.
Step-By-Step Guide To Insulating Your Pipes
With the right materials and a bit of patience, insulating your pipes can be a straightforward process. Here's a step-by-step guide to help you on your DIY journey.
Step 1: Prepare Your Pipes
Firstly, make sure your pipes are clean and dry. Remove any dust or debris that could compromise the adhesion of the insulation.
Step 2: Measure and Cut
Next, measure the length of your pipes and cut your insulation material accordingly. Remember, precision is key.
Step 3: Install the Insulation
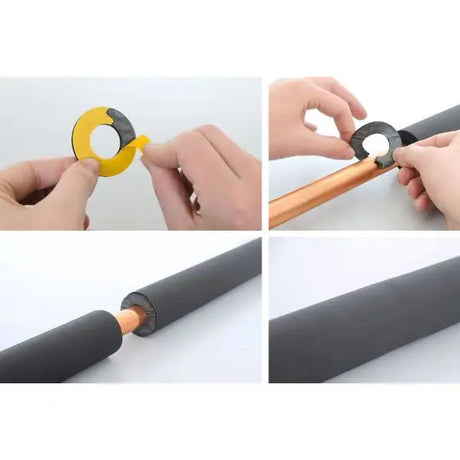
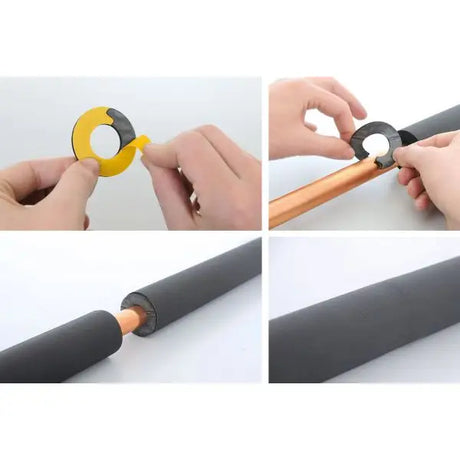
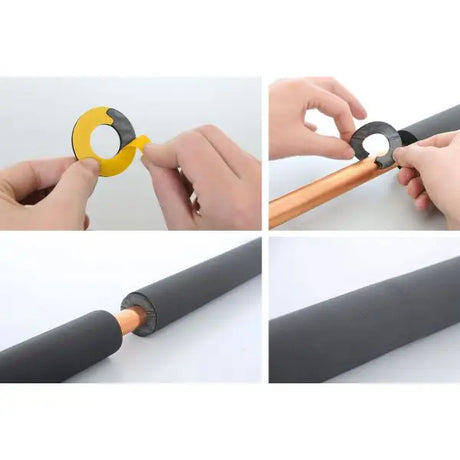
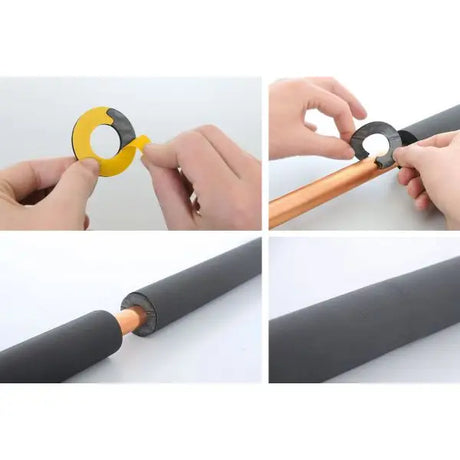
Afterwards, place the insulation tube or wrap around the pipe. If you're using a tube, it should easily fit around the pipe. For wraps, ensure it is secured with duct tape.
Step 4: Seal the Joints
Lastly, seal all the joints with duct tape. This will help to provide a seamless insulation layer, increasing the overall efficiency.
Aftercare: Maintaining Your Pipe Insulation
Once your pipes are insulated, maintenance is essential. Check your insulation regularly for any signs of wear and tear and replace any damaged sections promptly.
Conclusion: Pipe Insulation and Beyond
Insulating your pipes is a fantastic step towards a more efficient home. But remember, insulation doesn't stop with your pipes. Other parts of your home, such as ducts and cladding, can also benefit from insulation. Explore our wide range of insulation cladding and HVAC insulation lagging options to take your energy efficiency efforts a step further.
Are you prepared to make your home more energy-efficient? Can you see the potential benefits of a well-insulated plumbing system? We bet you do! Now go forth, roll up those sleeves and get to insulating!
And remember, pipe insulation is not just about saving energy - it can also prevent freezing, as we've discussed in detail.
Don't forget to explore our entire range of pipe insulation and other insulation products to make your home more comfortable and energy-efficient. Your pipes, your wallet, and the environment will thank you!


